XIV Sculpt Guide
Here are some extra mods and guides to help enhance your look!
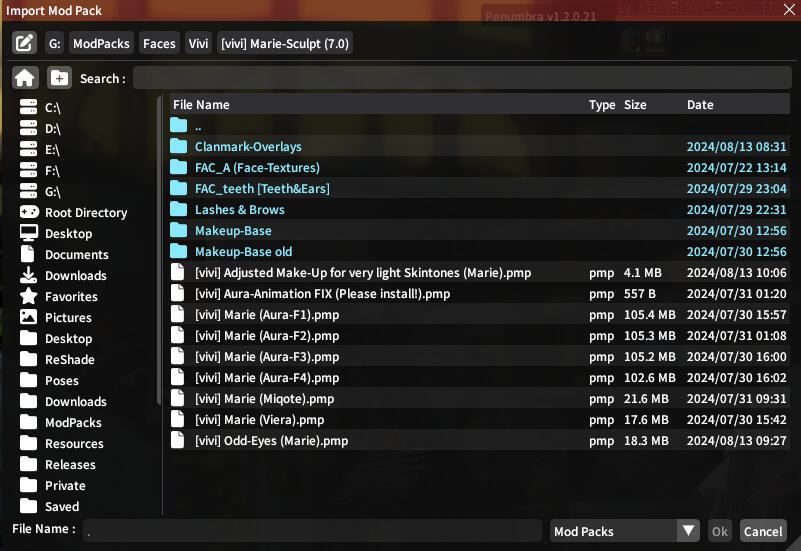
How to use sculpts
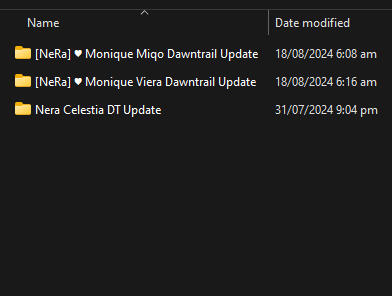
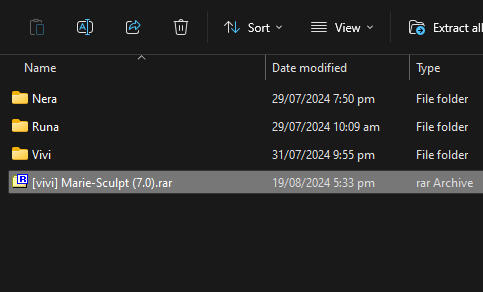
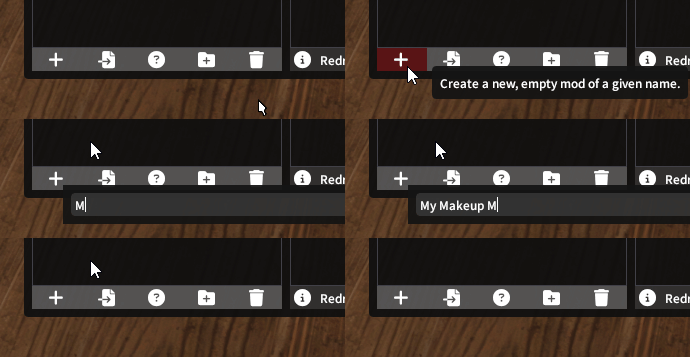
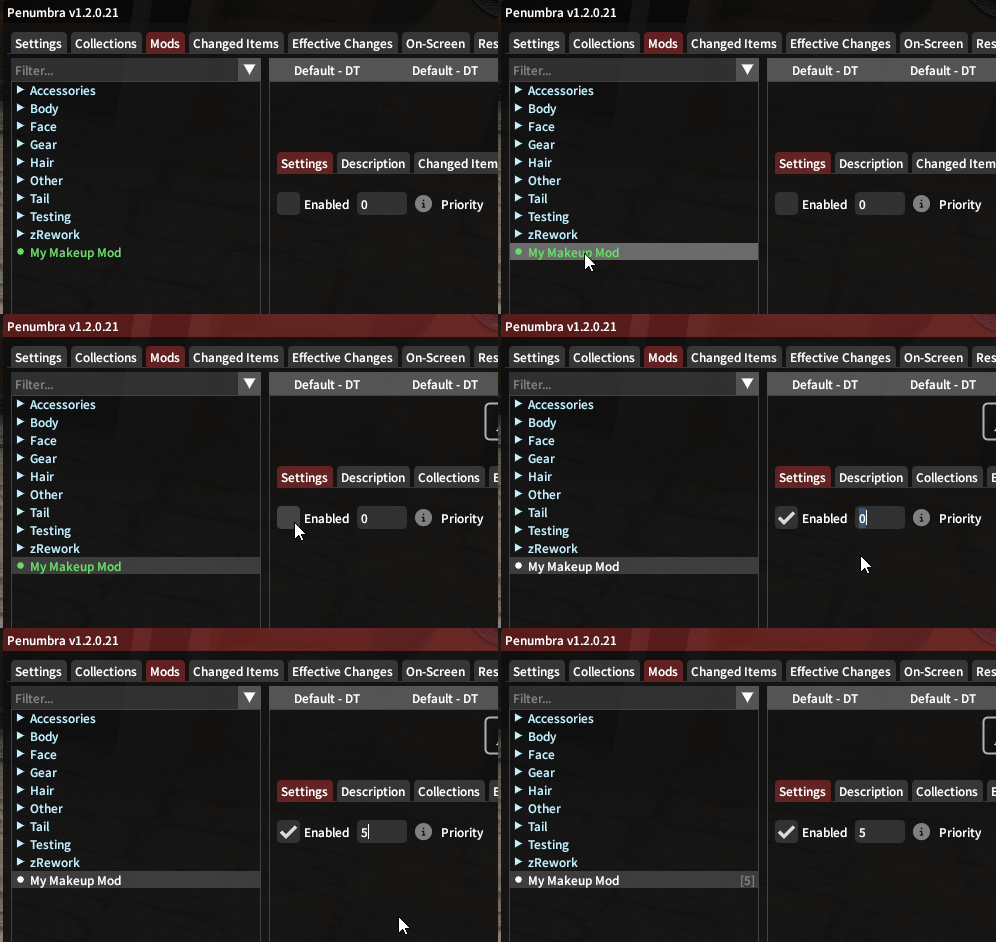
When you first download the sculpt, it will be in a zip/rar file.
Extract the files.(Download 7-zip if you can't extract)
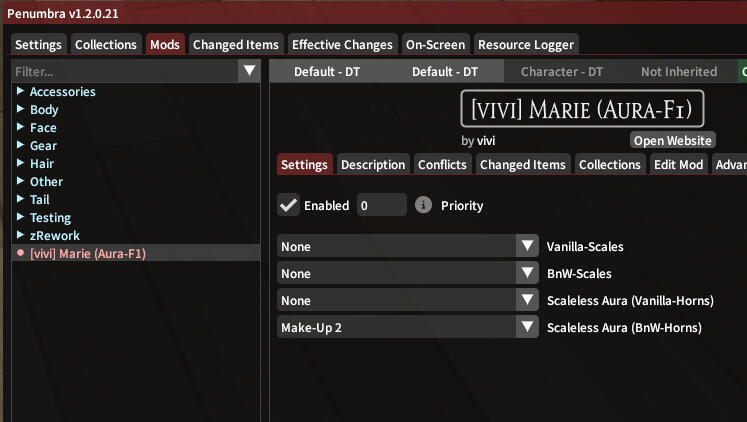
Not sure how to use Penumbra, or is the mod not working?
Next, we will move onto the Toggles guide!
Frequently Asked Questions
Q: I don't really know how to use Penumbra?
Q: I want my sculpt to only show up on my character?
You can use collections to make your mods only apply to yourself.
Click here for collections guide!
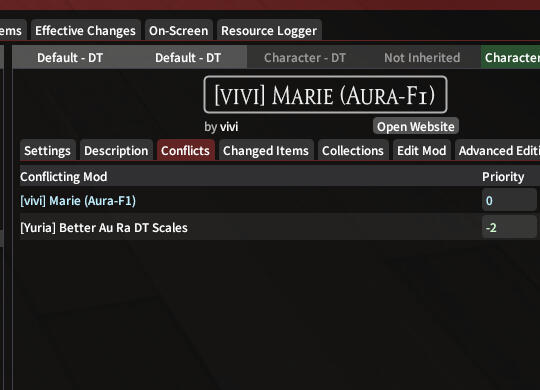
Q: My sculpt isn't showing up in game?
Go to the Conflicts tab, and make sure the sculpt is a higher priority number.
(It is recommended to use negative priorities for body and scale mods.)
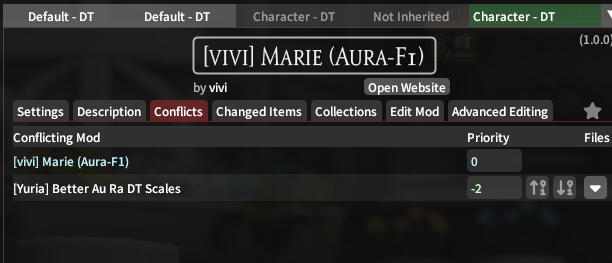
Q: There are multiple modpacks, what priority order do I use?
Modpacks labelled makeup, add-ons or eyes
should be a higher priority number.
How to use toggles
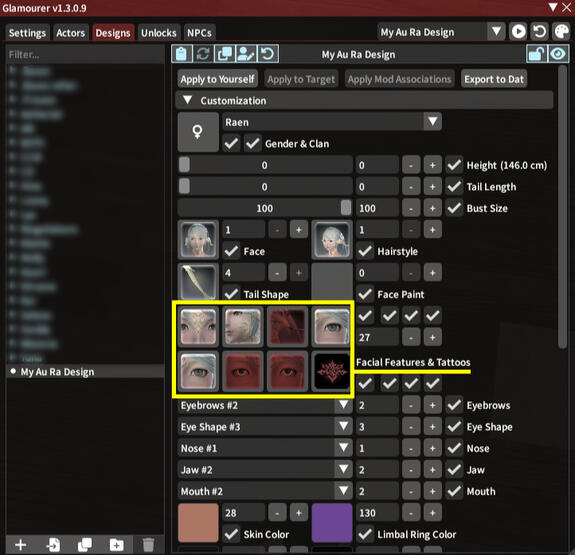
Most sculpts have replacements for vanilla facial features!
You can see what toggles your sculpts comes with
in the sculpt's website description.
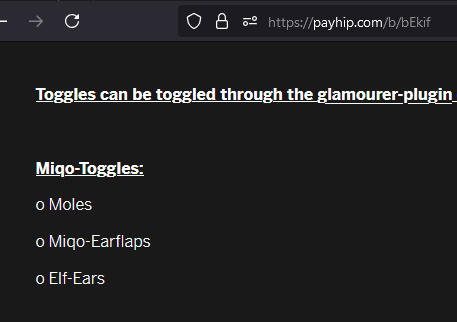
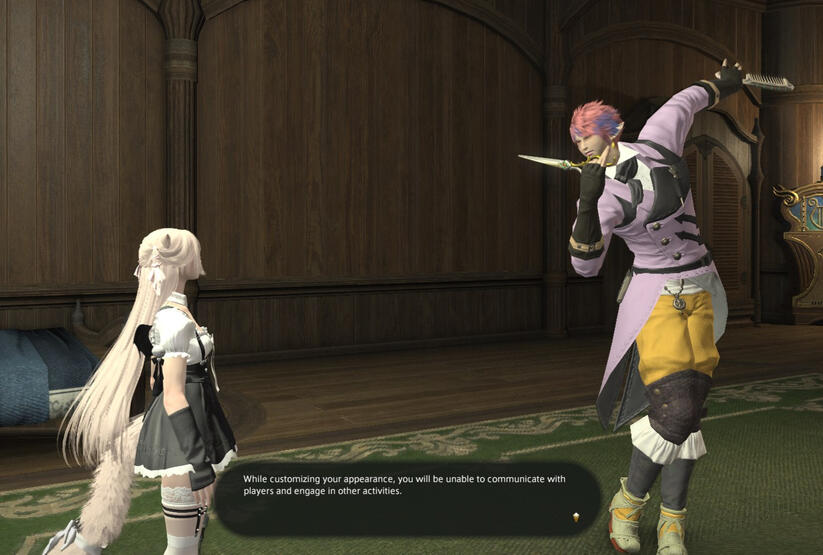
You can toggle them through Glamourer or the in-game Aesthetician.
Want to make a toggle stay on or off without Glamourer/Aesthetician?
How to make toggles permanent
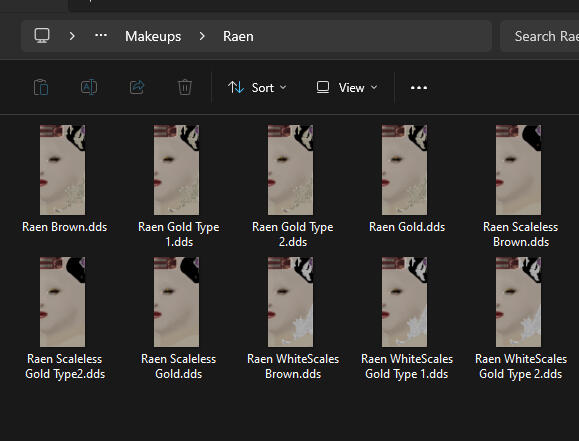
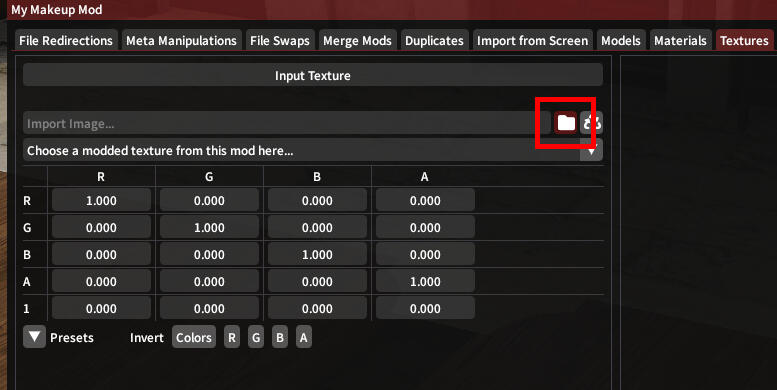
I have a .dds or .png file, and I want to...
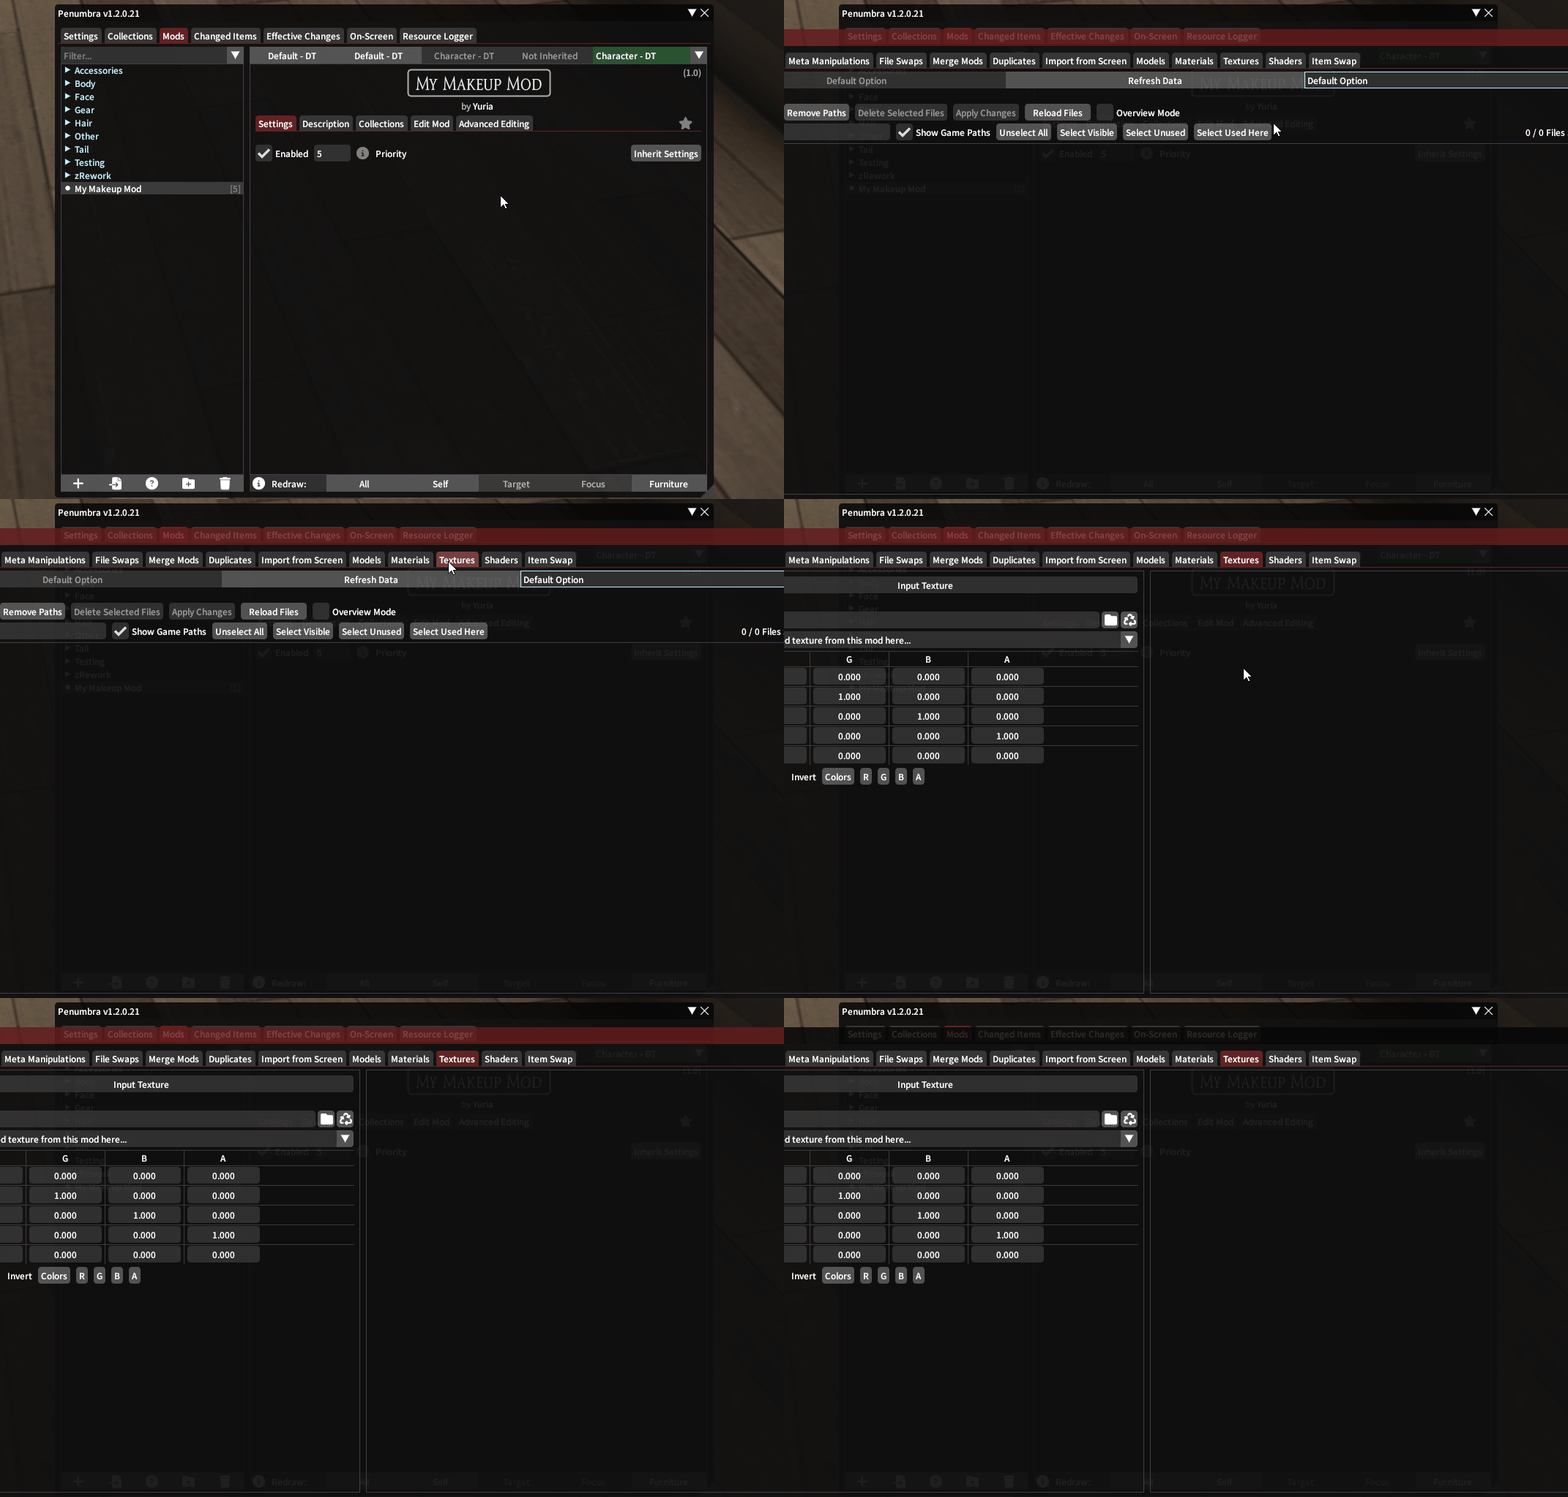
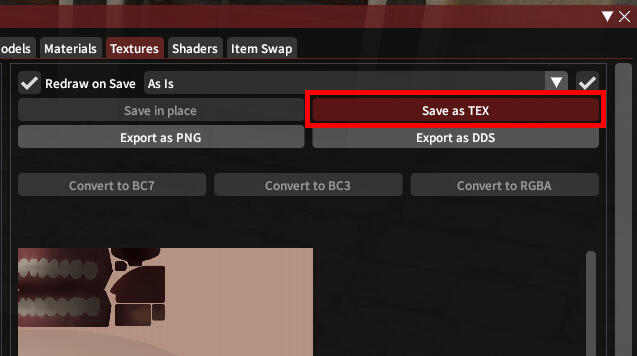
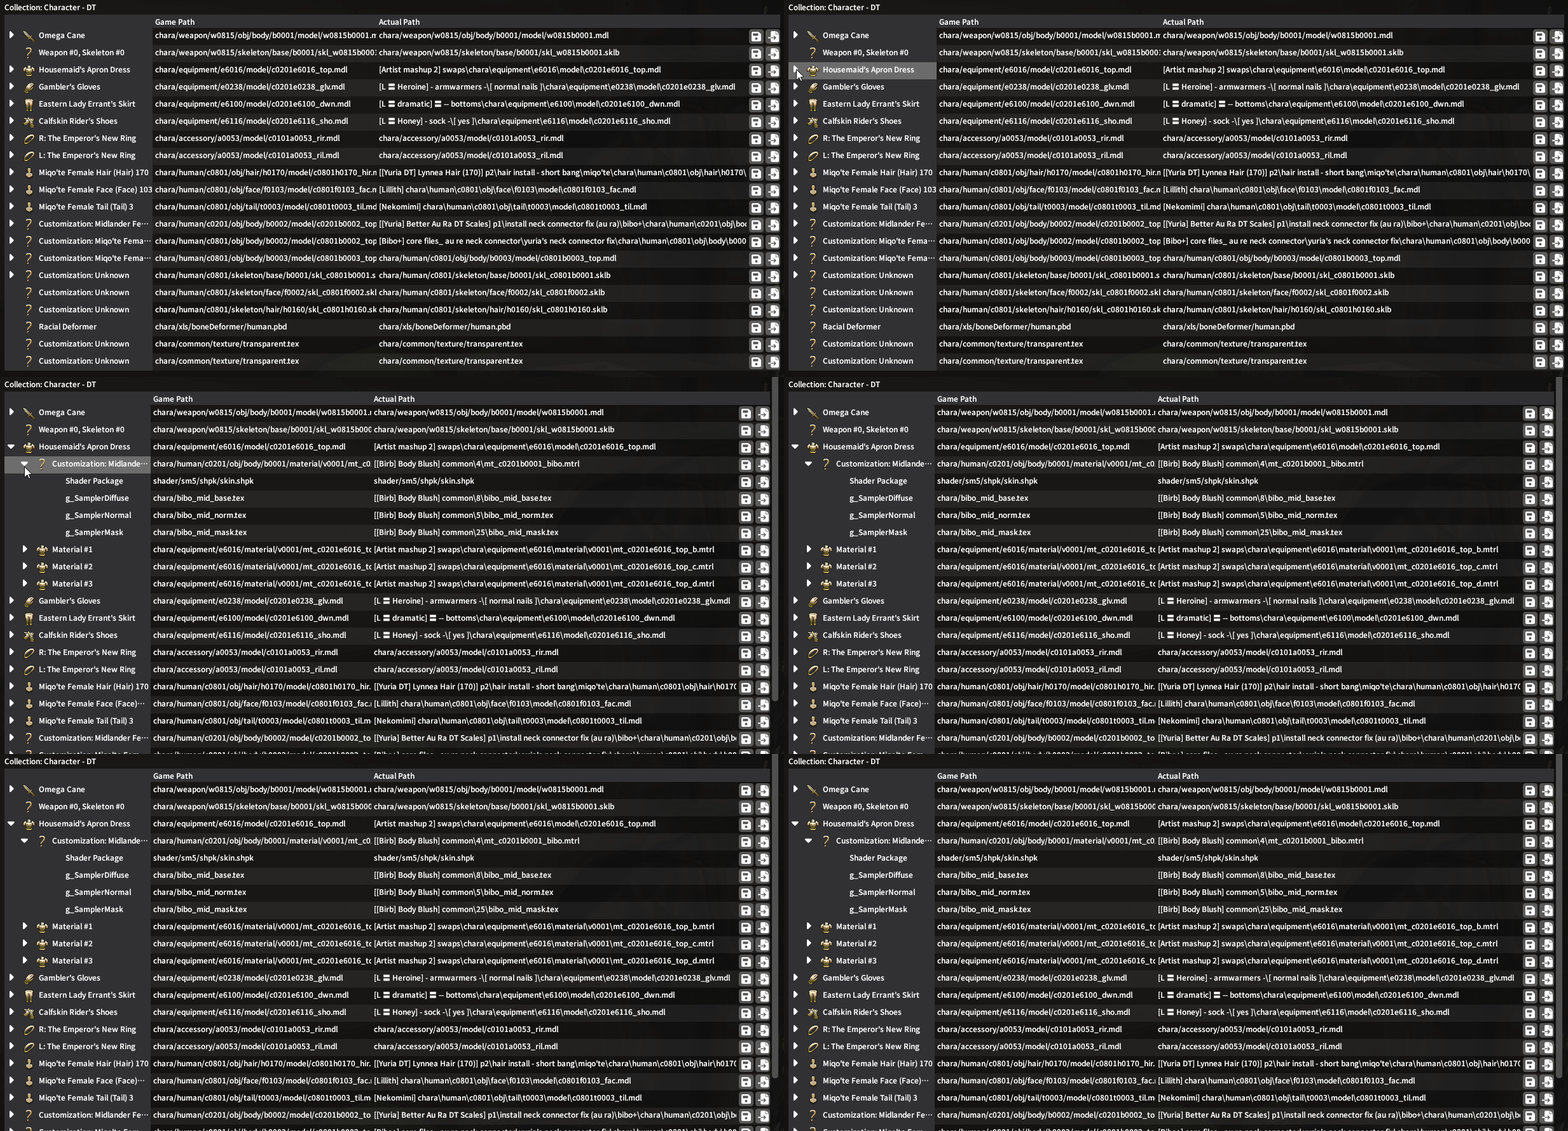
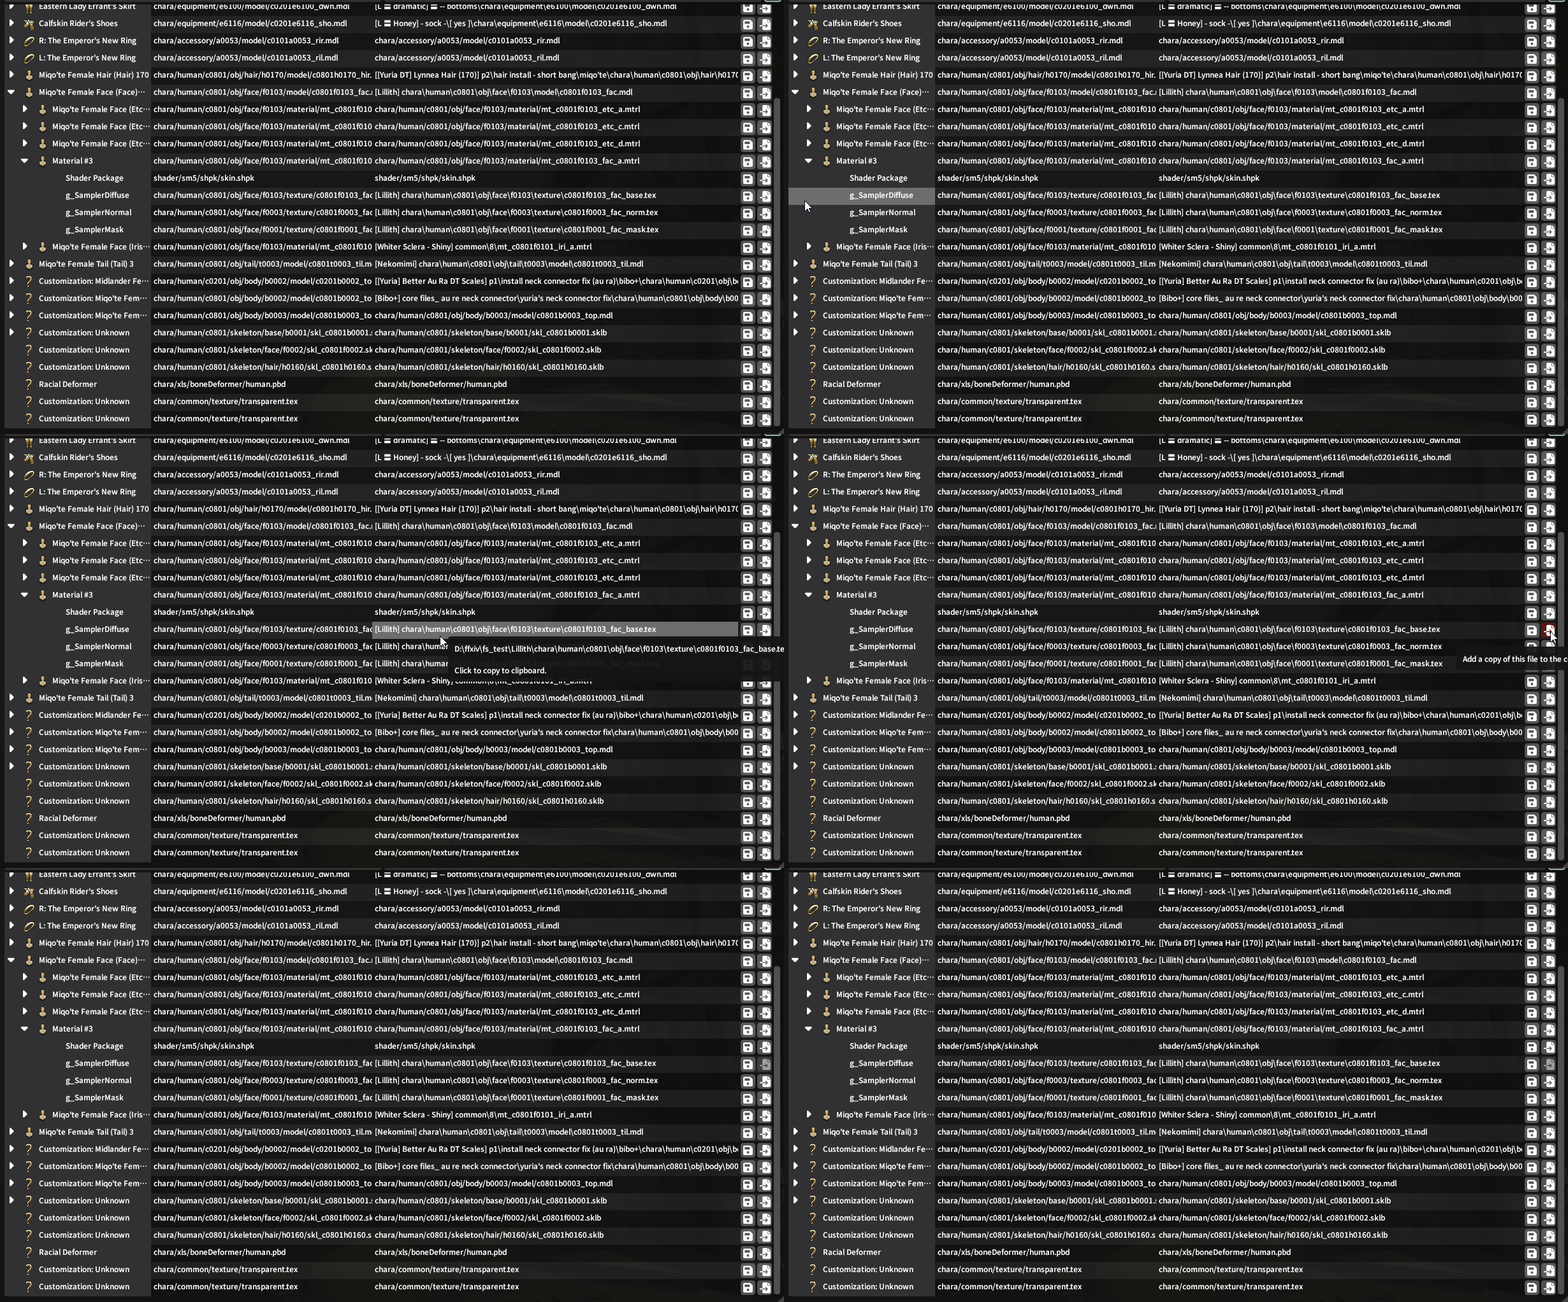
How to add loose files
Click on any of the images to see it in full size!
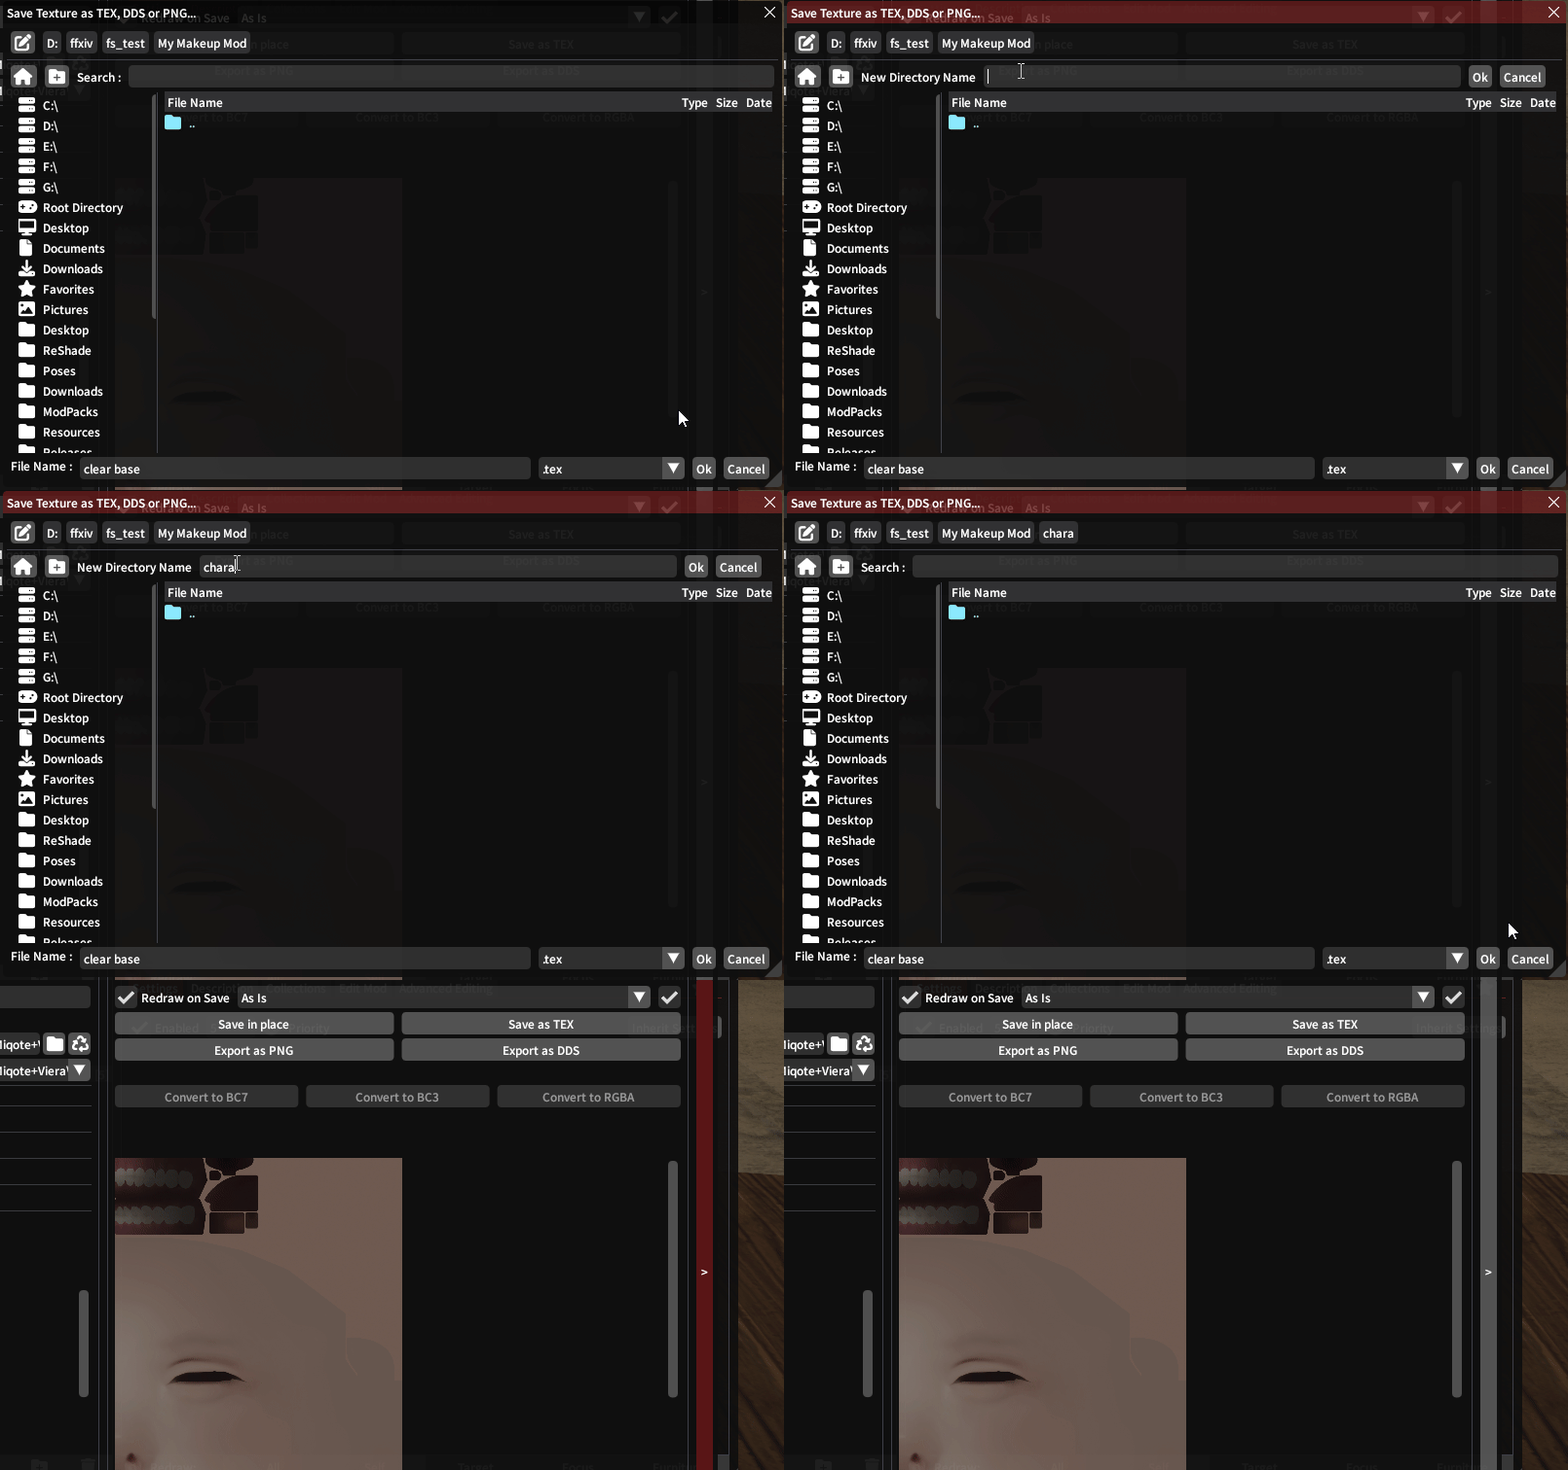
Make a new directory called chara, then confirm with Ok.Press Ok again to
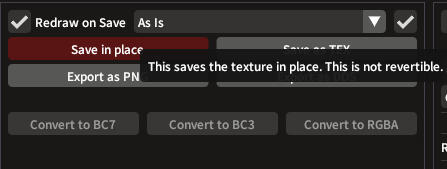
save the texture.
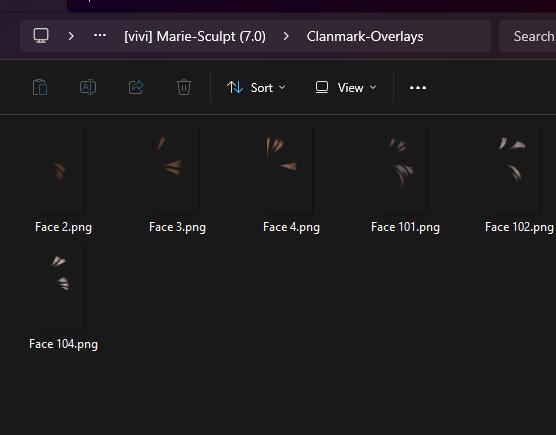
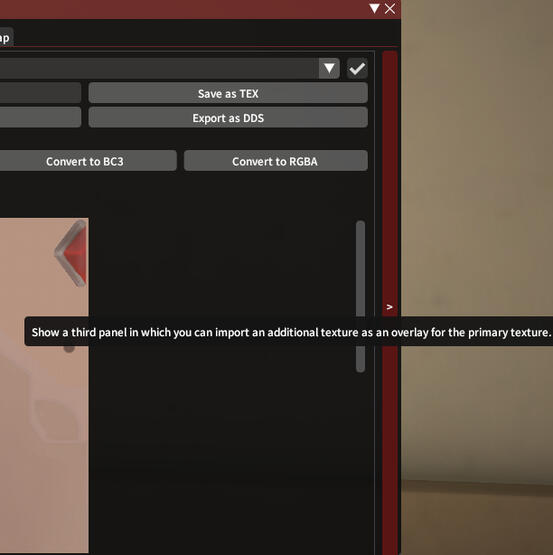
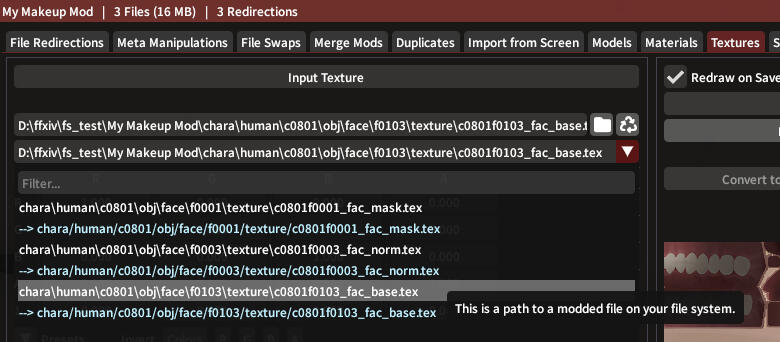
Got clan marks/scales to overlay as well? Click here after you save!
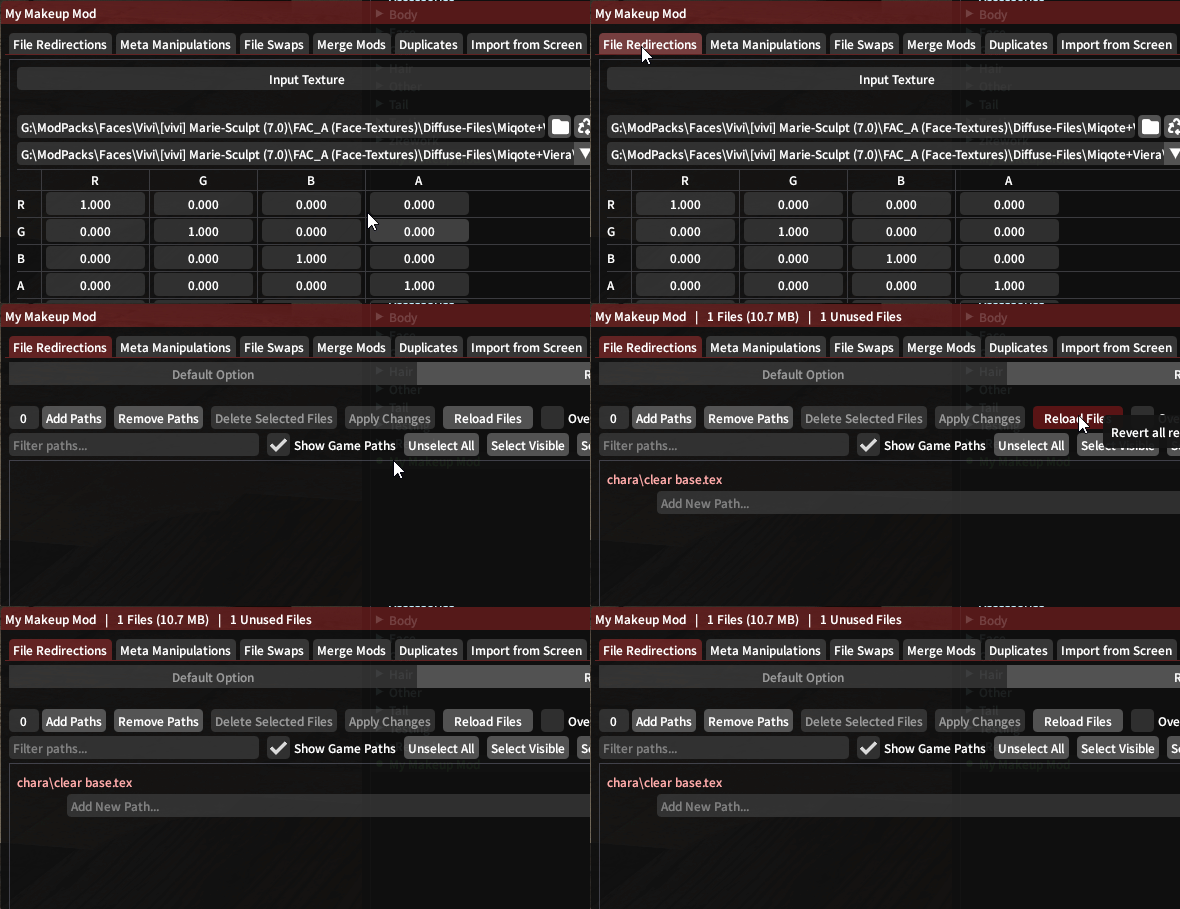
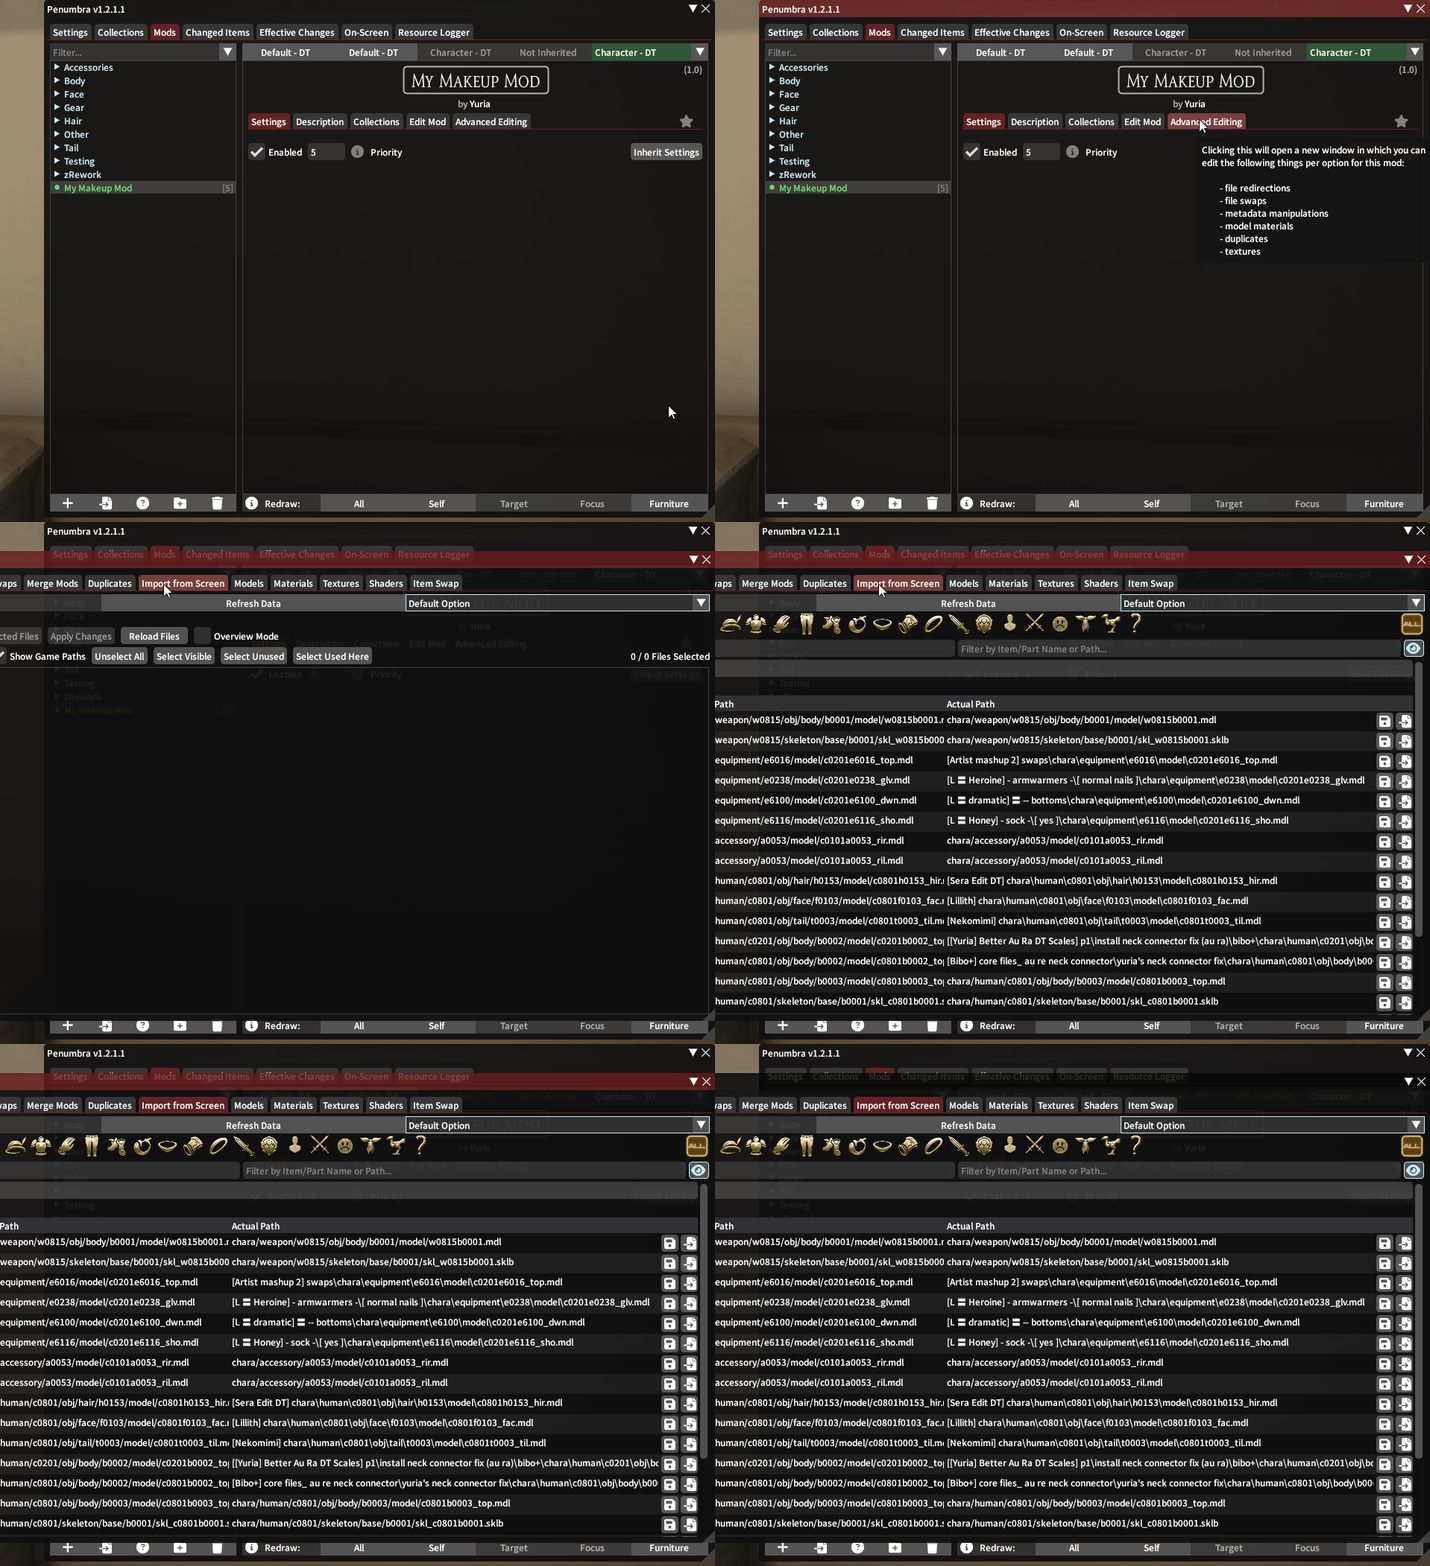
Add your path in the empty box, then press
Apply Changes.
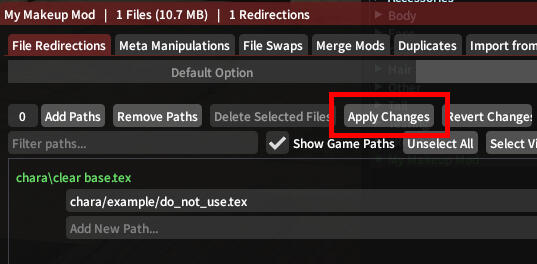
Close the Advanced Editing window, then you're all done!If your new texture isn't showing up on your character,
check your priorities in the Conflicts tab.
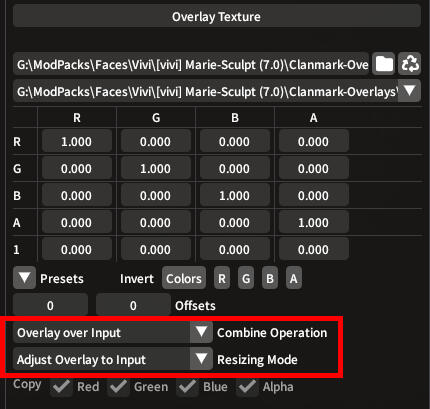
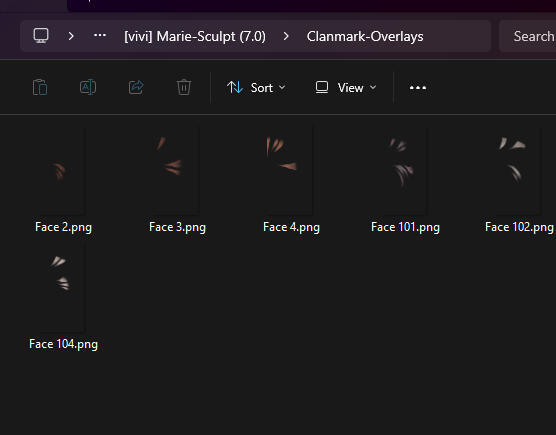
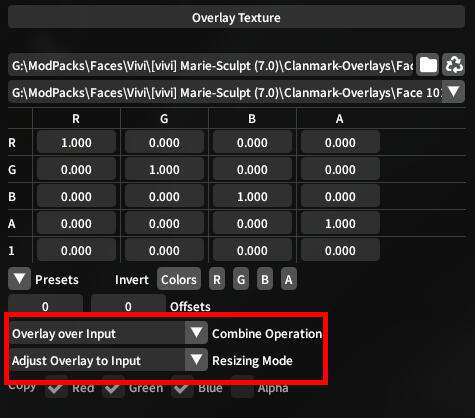
Add overlay to loose file
How to use overlays
Click on any of the images to see it in full size!
If you plan to use these mods, please check our guides for them:
Dragonborn scales
Male Vanilla Body scales
Important Note for Au Ra players
| I want... | Action |
|---|---|
| Different face scales on my sculpt? | Refer to the Scale Replacement Overlay guide |
| Different body scales with a custom tattoo/body texture? | Refer to the Scale Replacement Overlay guide |
| Recolor scales/horns on my makeup/body texture? | Keep scrolling down :) |
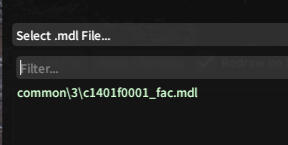
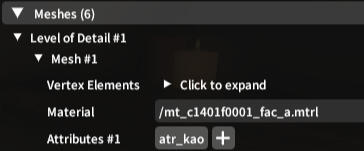
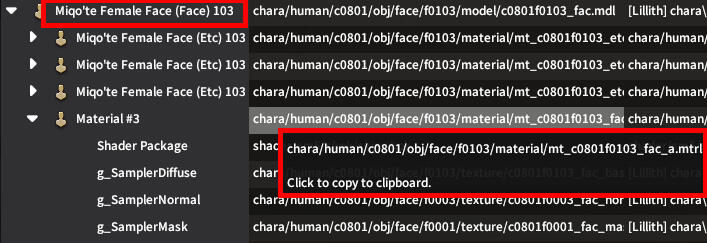
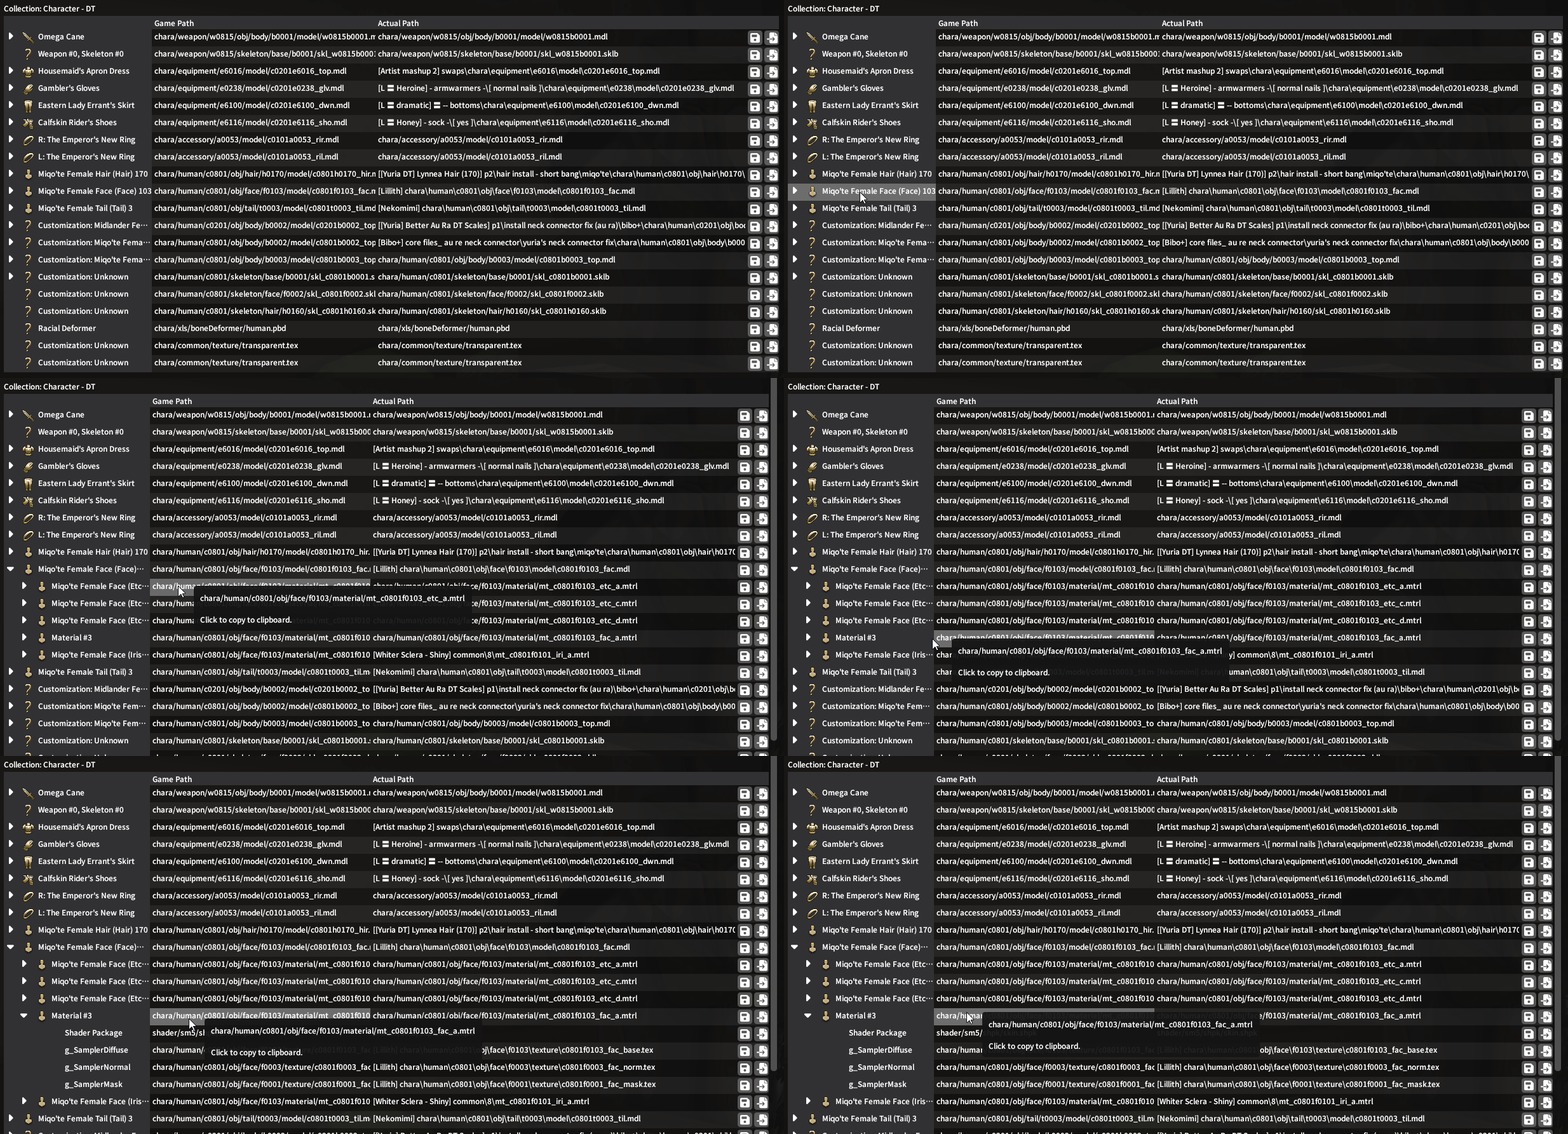
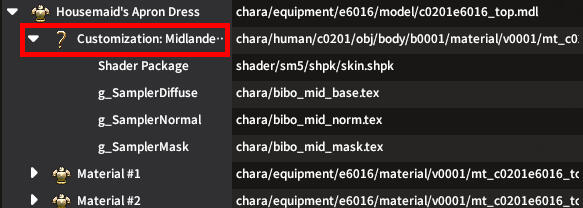
Open up the dropdown, and find the material you need.
Texture Cheatsheet

| For... | Diffuse | Normal | Mask |
|---|---|---|---|
| Scaleless -> Scales | ✔️ | ✔️ | ✔️ |
| Scales (recolor) | ✔️ | ❌ | ❌ |
| Clan Marks | ✔️ | ❌ | ❌ |
| Body/Face Tattoo | ✔️ | If provided | If provided |
| Black Neck | ✔️ | ❌ | ❌ |
| Gloss/Shimmer Mask | ❌ | ❌ | ✔️ |
| Skin Influence | ❌ | ✔️ | ❌ |
If you have more textures to overlay, repeat the steps to overlay those textures too.
Close the Advanced Editing window.
Now, your textures should have fancy new overlays!
Got a neck seam? Install the Neck Connector fix.
Cutouts List
Special Exceptions
These do not have cutouts and must be exported from PSDs.
Check out our extra guide for these scales:
Dragonborn scales
Male Vanilla Body scales
Females ♀️
Males ♂️
Overlay with PSD only
Before we begin
You will need Textools to follow this guide.
It will not break your game - the program has been reworked for Dawntrail!
PSD Devkit Downloads
| Links (click to open) |
|---|
| Dragonborn ♀️ |
| Dragonborn ♂️ |
| Vanilla body scales ♂️ |
Common modding terminology to learn
Body types
| Vanilla | Mat A |
| TBSE | Mat B |
| Gen 3 | Mat B |
| Bibo | Mat Bibo |
Texture names
| Diffuse | _base | _d |
| Normal | _norm | _n |
| Mask | _mask | _s |
Video Guide
If you are stuck on any of these steps,
feel free to ask for help in our #modding-chat channel.
Face scales notes:
Use the correct file for your face number
For non-aura races, use the Universal Neck Seam PSD.
In Textools, Xaela face numbers are 101-104.
Related Mods
Below is a list of must-have mods that go well together with face sculpts, and are plug and play!
| Links (click to open) | Description |
|---|---|
| Eye Shader Collection ♀️♂️ | Must-have for shinier eyes, with blank white eyes & black sclera add-ons. |
| Better Au Ra Scales ♀️ | Cleaned up vanilla scales. Black, White and Cream recolors (+ tails and horns). |
| Oiled Up ♀️♂️ | Makes skin look glossy. Tick all the "material" boxes, for sculpt compatibility. |
Here are some plugins found in the Sea of Stars repository
that are related to Penumbra.
| Guide Link | Description |
|---|---|
| Glamourer | Advanced Customizations allows you to choose from a wider range of hair, skin and eye colors. |
| Customize+ | Edit your sculpt features (eyes, lips, cheek, jaw). |
Customize+
What is Customize+?
C+ is a plugin that allows you to move/rotate/scale your bones!

Importing existing Customize+ templates
Sometimes presets will be in the form of copy/paste text.
Copy the text string, press the 📋 button on the Templates tab,
then give the preset a name.

Making your own template
Want to try making your own changes instead?
Applying the template to your character
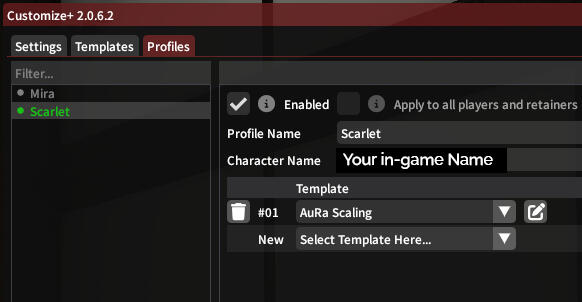
On the Profiles tab, add the template to a new/existing profile.
Note: Templates can stack!
Page work in progress
